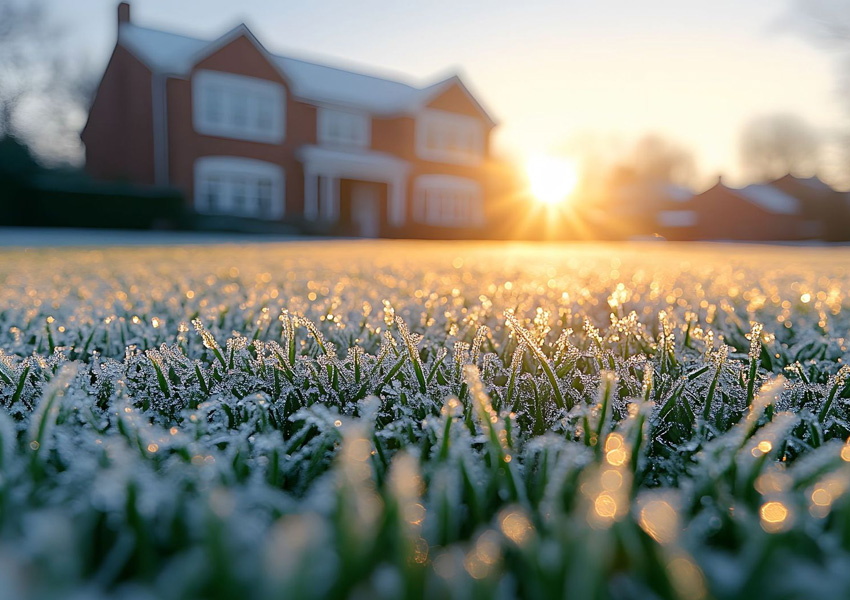
As fall soon transitions to winter across Northern Virginia, homeowners are preparing their properties for the colder months ahead. One critical task that often gets overlooked is winterizing your irrigation system. With freezing temperatures on the horizon, taking the time to properly shut down and protect your system can save you from costly repairs and ensure your lawn is ready to thrive come spring.
Why Winterization Matters
Freeze-thaw cycles can wreak havoc on irrigation systems. Water left in pipes, valves and sprinkler heads expands when it freezes, which can lead to cracked lines, broken fittings, or damaged backflow preventers. Repair or replacement costs can quickly add up. Winterization removes that residual water, protects your investment, and shuts your system down properly until the weather warms up again.
When to Winterize
For most Northern Virginia homeowners, the ideal time is late October through late November – before the first hard freeze but after you’re finished with regular lawn watering.
Step-by-Step Winterization Guide
- Shut Off the Water Supply
Locate and turn off the main irrigation shutoff valve. This prevents any more water from entering the system. - Shut Down the Controller
Turn off your irrigation controller (timer) or set it to “rain mode.” This keeps the controller settings intact but prevents it from running during the winter months. - Drain the Backflow Preventer
The state of Virginia requires backflow preventers to protect the water supply. Drain yours carefully according to the manufacturer’s instructions to avoid freeze damage. - Remove Water from the Lines
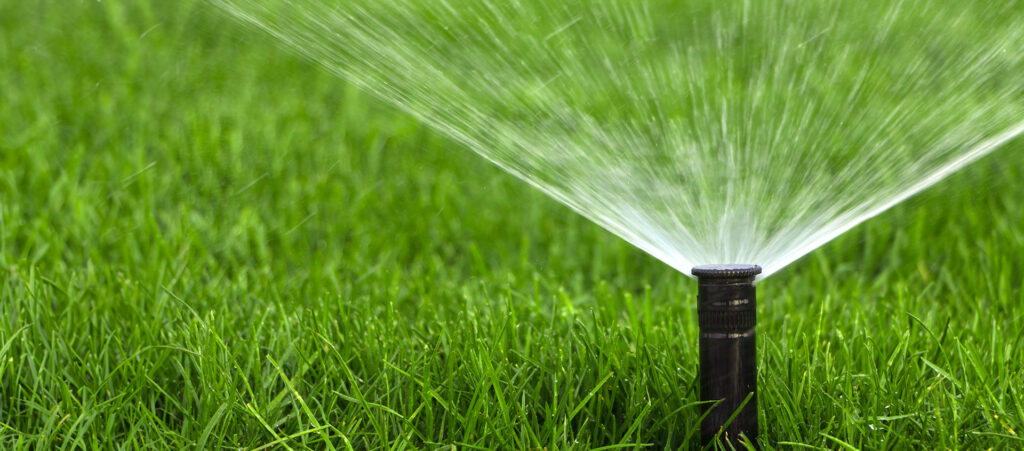
This is the most critical step. There are three methods:- Manual drain: Opening valves to let water out (works for sloped systems).
- Automatic drain: Built-in drain valves release water when pressure drops.
- Blow-out method: A professional uses an air compressor to blow residual water out of the system. This is the most reliable option for systems in Northern Virginia’s climate where deep freezes are common.
- Insulate Exposed Components
Wrap above-ground piping, valves and the backflow preventer with insulating covers or foam tape. This extra layer of protection helps withstand sudden cold snaps. - Check and Store Accessories
Remove, clean and store any detachable components like hose-end timers. This extends their lifespan and keeps them ready for spring. - Final Check
Walk the property to make sure all zones are drained, valves are closed, and any exposed parts are insulated.
DIY vs. Professional Service
Some homeowners may attempt a manual drain, but for most, hiring a professional irrigation contractor is the safest route. They have commercial-grade equipment to perform the blow-out method properly and ensure your system is fully winter-ready.
Benefits of Proper Winterization
- Protects pipes and equipment from costly damage
- Saves time and hassle in the spring
- Extends the life of your irrigation system
- Provides peace of mind throughout the winter
Final Thoughts
A little preparation goes a long way. By winterizing your irrigation system before freezing temperatures set in, you’ll avoid unnecessary repairs and be ready for a lush, green lawn when spring arrives.
If you’re looking for professional winterization services, our highly experienced, thoroughly trained, fully insured technicians stand ready to serve! At Carney Irrigation & Lighting, our mission is to make beautifying and maintaining your outdoor spaces as stress-free, efficient and effortless as possible.
Contact us today to schedule your winterization or to request a free estimate.